
Everyone is talking about Agentic AI, Agents, workflows nowadays. And you must have explored what exactly they are. But did you ever made your own AI agent or any workflow. If not, I am not going to ask you why, there could be different reasons but one thing I am pretty sure that everyone faced is from Where to start? How to start?
I will explain more about Agenti AI and Agents and all in successive blog post. But today, I am going to talk about n8n and its installation in your local machine/laptop.
So, what is this n8n.
n8n is an open-source, low-code workflow automation tool like Zapier or Make but far more powerful, flexible, and developer-friendly. In simple words, n8n lets you connect different apps, APIs, and custom scripts, so you can automate tasks or build AI-driven workflows without writing a full backend system.
You can think of it as a visual workflow orchestrator where each block (called a “node”) does something, like fetching an email, calling an API, transforming text, or invoking an LLM, etc.
So, basically, using n8n you can make your own AI workflows what you are hearing from everyone.
There are two distinct way you can use n8n.
One is by registering on n8n web portal, you can use their portal to create and run workflows and that involves cost. (Point to be noted).
But there is another way where you can use almost all the features of n8n in free. Just by installing n8n locally in your system or laptop. And today, I am going to show you, how to install it locally.
Before installation on n8n, you have to make sure that you have node installed in your system. All the nodejs developer or any front end developer uses node knows about this. But if you are not one of them, don’t worry. It’s not a massive or any time consuming staff. Just few clicks.
Go to this link and follow the steps and done. You just have to run few commands on terminal/command prompt.
Now the question is, why we need nodejs. This is because, we will be using one of the node modules to run n8n.
Step 1:
Install nodejs as mentioned above
Step 2:
Run below command in your terminal or command prompt to install n8n.
npm i n8n -gThis will install n8n globally in your system. Which means, you can call n8n from anywhere. It’s not bound to any specific directory.
Step 3:
Once installation is done, let’s check it. Open terminal window or you can run below command on same window where you just downloaded it. Execute below command.
n8n startWoohoo !!! You just started n8n in locally. You can unleash all its power now without paying a single penny.
Once you ran this command, you might see below lines. It could be little different for windows system, I am not sure as I am used Mac. But it will show you that, n8n got started and the localhost link to check this in browser. It will show something like this in terminal at end.
[license SDK] Skipping renewal on init: license cert is not initialized
Version: 1.114.4

Editor is now accessible via:
http://localhost:5678
Step 4:
So, open your browser and go to this link – http://localhost:5678
This will ask you to sign up. Don’t worry. It will not send your details to any external system. It is just to facilitate local authentication. Once you completed sign up, you will be redirected to n8n home page.
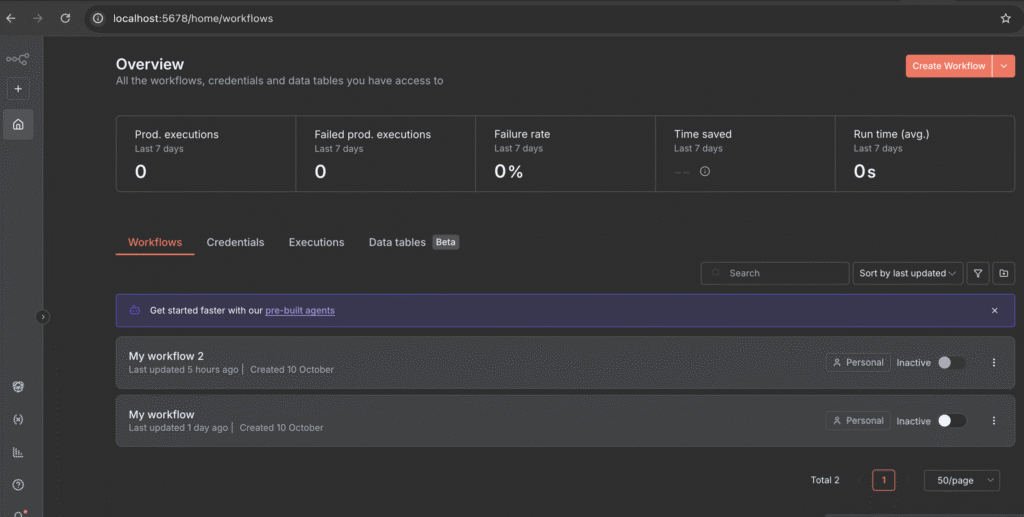
Ignore workflows section for now. It would be empty. As I already created two, so it’s here.
Now you can click on + icon from left side menu or Create Workflow button from top right corner.
See, how simple is this. Take your time to explore this in detail. I will be back with more blog post in coming days to show – how to create different types of workflow using n8n.
NOTE: If you closed that terminal where you ran command “n8n start”, http://localhost:5678 will not work. This is because you stopped n8n. So, make sure you executed n8n start command and keep that window open until you are using that portal locally. But don’t worry, if you close this, that does not mean, your all workflow are gone. They will be remain intact. So, next time, when you will start this, your workflow will be there to use.
Hope this will help you to get started in this excited journey and looking forward to make some cool productive workflows in future.
THAT’S IT